Chint Inverter Maintenance Checklist for Homes & Businesses
Learn the Chint inverter maintenance checklist, including inspection steps, cleaning, battery care, and servicing schedules for reliable home and business power systems.
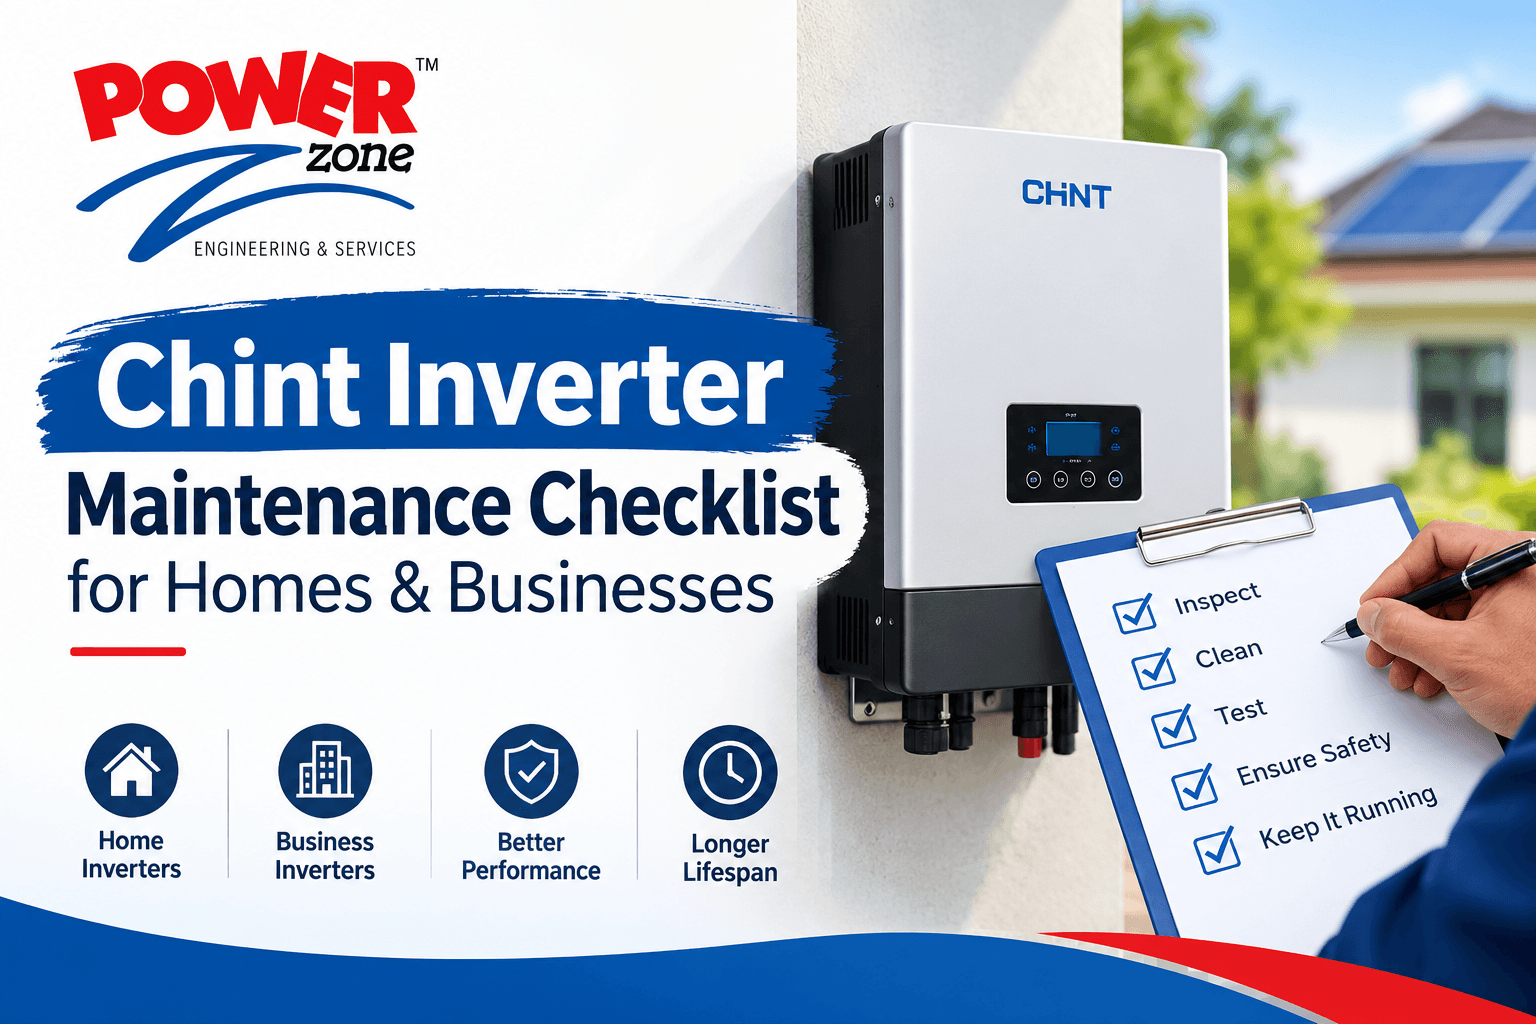
A hybrid inverter manages power from solar panels, batteries, and the grid. For homes, it helps keep essential appliances running during outages. For businesses, it supports backup power and day-to-day energy management.
Regular maintenance can help identify problems before they cause unexpected shutdowns. However, the right maintenance procedure depends on your exact Chint inverter model, battery system, and installation.
This checklist covers practical visual checks for owners and tasks to leave to a qualified solar technician. It is general guidance, not an official Chint maintenance schedule. Always follow the documentation supplied with your equipment.
Safety First: Know What You Can Check
A hybrid solar installation can have several live power sources. Switching off the grid supply does not necessarily make the inverter safe: solar panels and batteries may still supply power, and internal capacitors can retain a dangerous charge.
Owners should limit routine checks to accessible displays, monitoring apps, and external visual inspections.
Do not:
Open the inverter enclosure or battery cabinet.
Disconnect solar connectors or touch exposed wiring.
Tighten terminals or remove protective covers.
Change battery charging parameters without approved guidance.
Repeatedly reset an inverter that keeps reporting a fault.
Any work requiring electrical isolation should follow the model-specific shutdown sequence and waiting period, carried out by a qualified person.
If you notice smoke, sparking, a burning smell, or a swollen or leaking battery, keep people away. Do not touch the equipment or attempt a restart. Contact emergency services if there is an immediate fire risk.
Chint Inverter Maintenance Checklist for Homes & Businesses
Following a regular maintenance checklist helps homeowners and businesses keep their Chint inverter systems in proper working condition.
1. Check the Display and Monitoring App
Start with the inverter’s display or monitoring platform. These can reveal faults without touching electrical equipment.
Checklist:
Confirm that the inverter reports normal operation.
Check for active warnings and fault codes.
Review solar generation and battery charge levels.
Confirm that monitoring data is updating.
Record repeated shutdowns or unusual operating changes.
Compare performance over similar weather conditions rather than expecting identical generation every day. Cloud cover, seasonal changes, shading, and electricity consumption can all affect the figures.
A monitoring connection failure does not automatically mean the inverter has stopped producing power. Check the local display, if safely accessible, before assuming an electrical fault.
2. Keep the Inverter Area Clear
Suggested frequency: Monthly, or more often in dusty environments. Restricted airflow can contribute to overheating and reduced output. Keep the installation area clean and maintain the clearance specified in the inverter manual.
Checklist:
Remove stored items that obstruct the inverter’s ventilation space.
Check externally for dust buildup around vents.
Keep combustible materials away from the equipment.
Look for signs of insects, nesting, or rodents.
Confirm that nearby storage or new equipment has not restricted access.
Only clean accessible exterior surfaces as permitted by the manufacturer. Do not spray water or cleaning products onto the inverter, insert tools into vents, or use compressed air unless the manual specifically allows it.
Fans, filters, and internal cooling components should be inspected or serviced according to the model’s instructions.
3. Look for Moisture and Environmental Damage
Suggested frequency: Monthly and after severe weather. An outdoor-rated inverter still relies on correct installation, intact seals, and suitable environmental conditions.
Checklist:
Look for water stains, condensation, or nearby leaks.
Check the enclosure for cracks, corrosion, or discoloration.
Visually inspect accessible cable entry points for damage.
Confirm that drainage around the installation is unobstructed.
Check for new heat sources or changes to the surrounding area.
Do not add a cover or improvised enclosure without installer approval. It may trap heat or violate required clearances. If water appears to have entered the equipment, keep clear and arrange a professional inspection rather than attempting to dry or restart it.
4. Inspect Visible Cables and Mountings
Suggested frequency: Monthly
A visual inspection can reveal wear before it develops into a more serious problem.
Checklist:
Look for cracked, frayed, or damaged cable insulation.
Check for cables hanging loose or rubbing against sharp edges.
Look for signs of rodent damage.
Check for visible scorching or discoloration around accessible connections.
Look for movement or damage to the mounting structure.
Do not pull on cables, test connections by hand, or attempt to tighten electrical terminals. Report any suspected damage to your installer.
For commercial premises, keep the equipment area protected from vehicles, stock handling, and accidental impact.
5. Review Battery Health and Performance
Battery maintenance depends on the battery chemistry and manufacturer, not just the inverter brand. Lithium and lead-acid systems have different inspection and servicing requirements.
Checklist:
Check for battery or battery-management-system warnings.
Review charge levels and any available temperature readings.
Note unexpected changes in charging or discharging behavior.
Compare backup duration under similar loads.
Visually check the battery enclosure for damage or leakage.
Keep the battery installation area clear and appropriately ventilated.
A shorter backup period does not necessarily mean the battery has failed. Higher loads, temperature, reserve settings, and battery aging can all affect runtime.
Ask a qualified technician to investigate persistent changes. Do not alter charge voltage, current limits, battery type, or communication settings by trial and error.
For batteries requiring electrolyte checks or other servicing, follow the battery manufacturer’s procedure and use a suitably qualified service provider.
6. Confirm That Backup Loads Remain Appropriate
The backup output has limits. New loads can overload a system that previously operated reliably, especially when equipment draws a high starting current.
Checklist:
Review which circuits are connected to backup power.
Record newly added appliances or machinery.
Check for overload warnings during outages.
Confirm that essential loads remain within the system’s approved capacity.
Ask your installer to review the system if demand has increased.
Arrange backup-function testing with your installer. Do not simulate an outage by disconnecting cables or operating unfamiliar isolators. Businesses should schedule tests to avoid disrupting critical equipment.
7. Review Settings and Firmware With Your Installer
Settings influence battery charging, backup reserve, grid interaction, and energy use. They should match the approved system design and local requirements.
Checklist:
Keep a record of the approved operating settings.
Note any unexpected setting changes.
Ask whether a firmware update is recommended for your exact model.
Confirm inverter and battery compatibility before updates.
Schedule updates when an interruption can be managed safely.
Do not install firmware from unofficial sources or assume that every available update is necessary. Your installer should confirm the correct version and procedure.
Grid protection and export settings should only be changed by an authorized professional in accordance with applicable requirements.
8. Arrange Professional Preventive Maintenance
Use the service interval specified by the inverter manufacturer, battery supplier, installer, and warranty documentation. Dust, heat, humidity, and demanding operating conditions may justify more frequent inspections.
If no interval has been established, ask your installer to recommend one. An annual review can be a useful planning starting point, but it is not a universal Chint requirement.
Depending on the installation, a technician may check:
Electrical connections and signs of overheating.
Earthing, protective devices, and isolators.
Cable condition and enclosure integrity.
Cooling components and ventilation.
Fault history and operating performance.
Battery communication and diagnostic information.
Backup operation and system configuration.
The technician should select tests that are appropriate for the equipment. Incorrect testing methods can damage connected electronics.
Quick Maintenance Schedule
When | Owner’s check | When to seek help |
Weekly | Review status, alerts, generation, and battery behavior | Persistent faults or unexplained performance changes |
Monthly | Inspect ventilation space, enclosure, and visible cabling | Damage, corrosion, moisture, or overheating signs |
After severe weather | Look for external damage or water ingress from a safe position | Suspected equipment damage or water entry |
After adding loads | Review backup demand and overload warnings | New high-demand appliances or machinery |
At the approved service interval | Arrange professional inspection and retain records | Follow manufacturer, installer, and warranty requirements |
Warning Signs You Should Not Ignore
Arrange prompt professional assistance if you notice:
Repeated fault codes or unexplained shutdowns.
Persistent overheating warnings.
New or unusually loud operating noises.
A substantial performance drop that weather or load changes do not explain.
Battery communication faults.
Damaged cables, moisture ingress, or visible scorching.
Smoke, sparking, battery swelling, or a burning smell require immediate caution. Keep away and follow emergency guidance rather than attempting troubleshooting.
Keep a Simple Maintenance Record
A maintenance log helps your installer identify recurring issues and understand changes over time.
Record:
Inspection and service dates.
Inverter and battery model details.
Fault codes and screenshots.
Changes in generation or backup duration.
New appliances or business equipment.
Repairs, firmware updates, and approved setting changes.
For businesses, assign responsibility for reviewing alerts and keeping records so warnings are not overlooked.
Final Thoughts
Effective Chint hybrid inverter maintenance starts with simple habits: review the monitoring data, keep ventilation clear, watch for visible damage, and track battery performance.
Leave internal inspections, electrical testing, and configuration changes to qualified professionals. A maintenance plan based on your exact inverter and battery documentation is the safest way to support reliable solar generation and backup power.
Suggested meta description: Keep your Chint hybrid inverter in check with practical maintenance tips for ventilation, battery health, fault monitoring, and professional servicing.